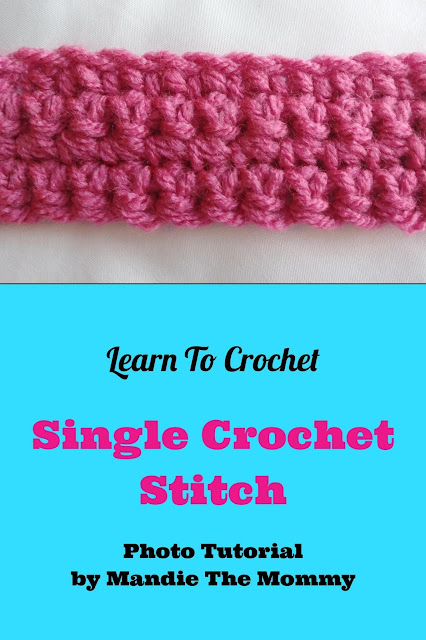
Introduction to Crochet: Single Crochet and Slip Stitch
Introduction to Crochet
Single Crochet and Slip Stitch
Welcome back! Today I'm going to walk you through the single crochet stitch and the slip stitch, plus I'll show you how to work in rows.
This post contains affiliate links. Thank you for supporting my blog!
This post contains affiliate links. Thank you for supporting my blog!
If you're completely new to crochet, see my previous posts in this series to learn the basics.
1. Tools You Need To Get Started
2. Slip Knot & Chain Stitch
1. Tools You Need To Get Started
2. Slip Knot & Chain Stitch
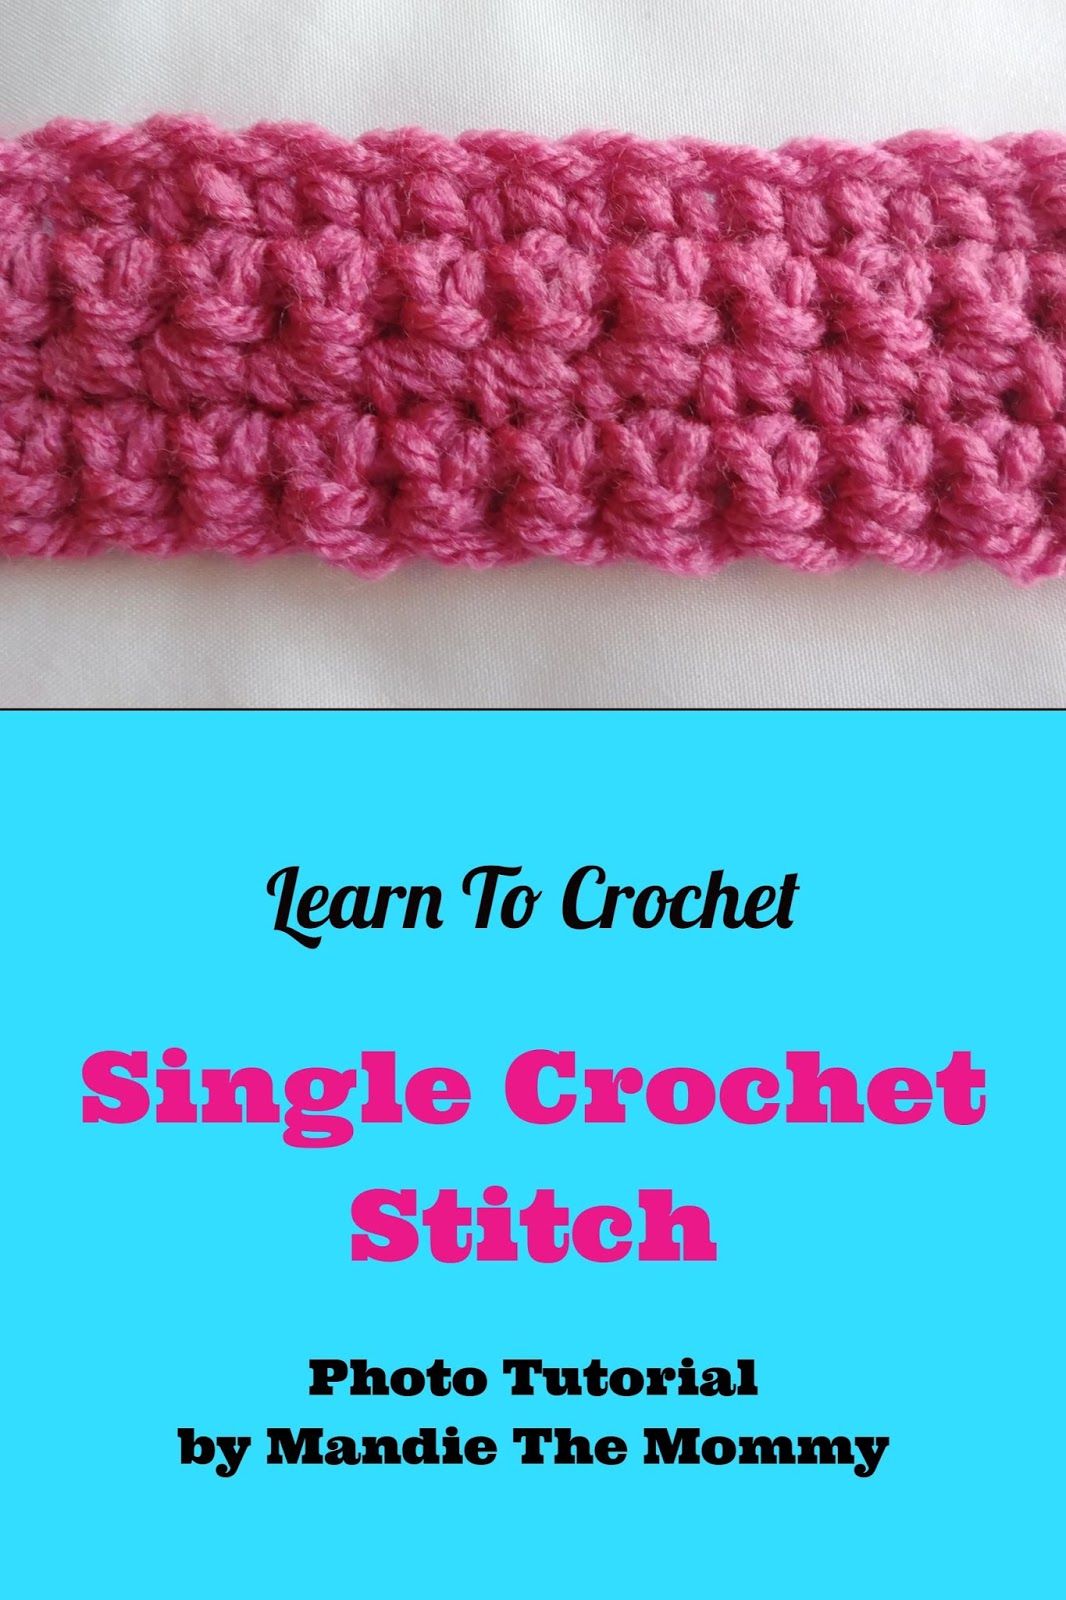
Single Crochet (sc)
Remember the slip knot and chains we covered in the last tutorial? This time we're going to build on those.
So first, make a slip knot. Then, let's make 21 chains.

To make your first single crochet, skip the first chain next to your hook, and insert your hook into the second chain from the hook. I've got my middle finger on it in the picture above.

Yarn over, and pull through the chain. You will have two loops on your hook.

Now, yarn over again, and pull through both loops on your hook. That's it! You made a single crochet.

Keep going and make a single crochet in each chain.
Make sure you can count the single crochets stitches. Each stitch has a little V at the top. You should have 20 single crochets.


Turning Your Work
So you finished your last stitch; what do you do now? Well, you need to turn. Now, remember that first chain that we skipped when we started the single crochets? That's called a turning chain. It gives you that little bit of height you need to turn and make your stitches for the next row. In single crochet, this turning chain doesn't count as a stitch.
To turn your work, chain 1 after your last single crochet. In case you forgot, just yarn over and pull through the loop on your hook.

Now, leaving your hook in place, turn your work from right to left.
To make your second row, insert your hook under the little V at the top of the first single crochet next to your hook. Here's a picture of those Vs. They also look a bit like chain links.


Yarn over and pull through the stitch. Then, yarn over again and pull through both loops.


Go ahead and practice by making another row. Make sure you have 20 single crochets at the end of each row!


Slip Stitch (sl st)
Another basic stitch is the slip stitch. It's used for all kinds of things from borders to joining crocheted pieces together. When making it, you might find that it's very similar to making a chain stitch. Let's make a row of slip stitches across the last row of single crochet.
Slip stitches are very short, so this time we won't be making a turning chain. Go ahead and turn your work.
Now, insert your hook into the single crochet you just made. Yarn over and through the stitch.


Then, pull the first loop through the second loop on your hook too. Take care not to make your stitches too tight.


And you're done!
I hope this tutorial was helpful for you! In the next lesson I'll show you the half double crochet stitch and we'll talk more about turning chains.
Please let me know in the comment section if you have any questions! Happy hooking!
If you enjoyed this photo tutorial, save it on Pinterest to keep it handy and to spread some crochet love!
If you enjoyed this photo tutorial, save it on Pinterest to keep it handy and to spread some crochet love!
Comments
Post a Comment